Trade Show Booth Setup Checklist: How to Plan a Flawless Event Display
Attending an industry expo or outdoor trade show can be one of the highest-ROI marketing channels for your business
However, a disorganized setup can quickly stall your event's momentum.
To ensure your brand looks sharp and welcoming, use this comprehensive Trade Show Booth Setup Checklist to prepare, assemble, and execute a flawless event display.
1. Pre-Event Planning & Inventory Check (2–4 Weeks Before)
Before packing your gear, double-check that your visual marketing assets are complete and aligned with your event goals:
Core Canopy & Framework: Inspect your 100% Commercial-Grade Hexagonal Aluminum Frame to ensure all locking push-buttons and scissor joints move smoothly.
Custom Canopy Top & Walls: Inspect your 600D Oxford Fabric canopy top and optional full/half side walls for color accuracy, clean branding, and secure Velcro connections.
Table Cover & Counters: Confirm your stretch or fitted branded table cover matches the size of standard 6ft or 8ft event tables.
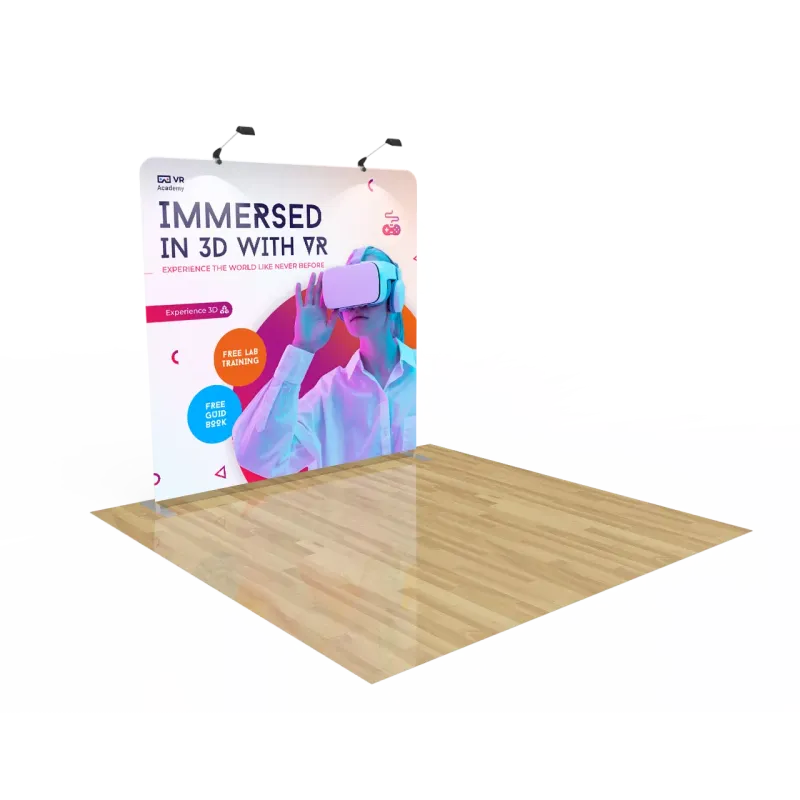
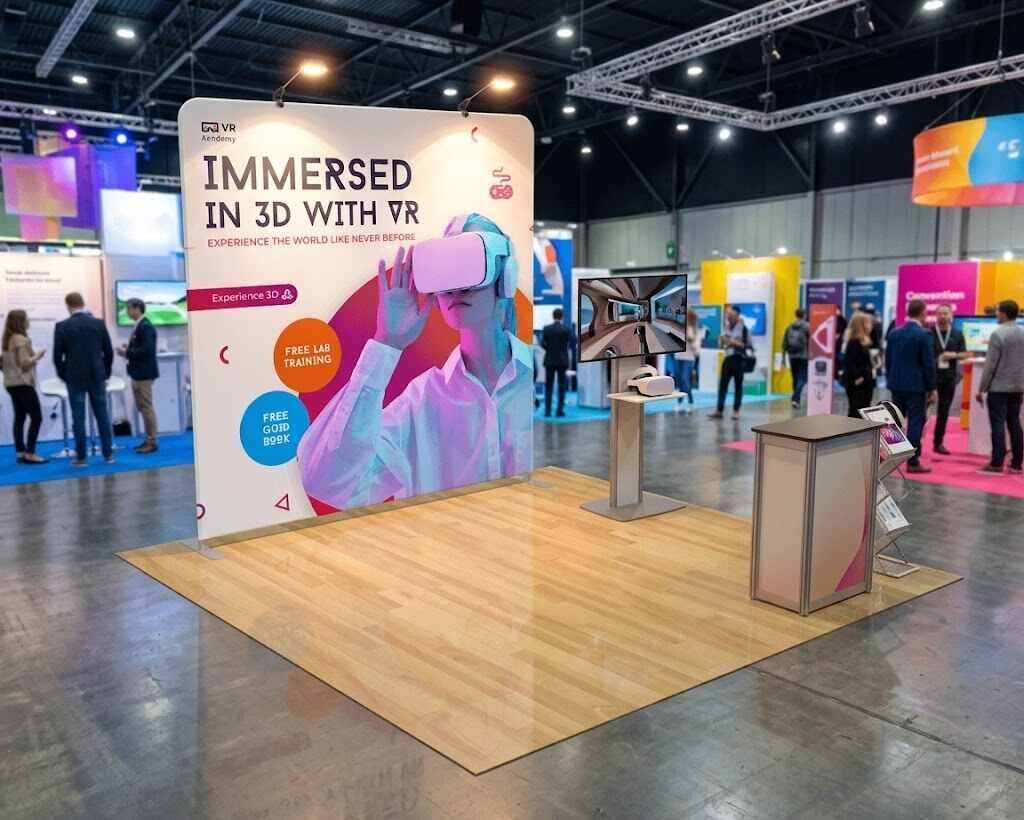
Banners & Flags: Count your feather flags, teardrop banners, and tension fabric backdrops.
Ensure base options (ground spikes or heavy-duty square bases) are packed for your venue type (indoor/outdoor).
2. Vector Art & Graphics Verification
Never leave graphic checks to the day of the show. Before production and packing, verify the following:
Dye-Sublimation Quality: Graphics are printed using high-resolution, full-color dye-sublimation process for vibrant outdoor visibility.
Proofing & Alignment: Check that your corporate logo and messaging sit clearly above eye level on tent valances and top banners.
3. On-Site Setup Protocol (Day of Event)
Follow this step-by-step assembly sequence to get your booth ready efficiently:
1. Unpack & Expand Frame: Place your aluminum canopy frame in the center of your designated booth space. Partially expand the legs with a partner.
2. Attach Custom Fabric Top: Drape the 600D canopy top over the frame while partially open, securing corner Velcro tabs tightly before fully elevating the tent.
3. Raise to Full Height: Lock the corner push-pins into place and extend the leg telescoping poles to your preferred height.
4. Secure Outdoor Anchorage: If outdoors, immediately anchor legs using sandbags or heavy-duty stake kits to ensure wind stability.
5. Position Side Walls & Banners: Zip or Velcro full walls and half walls as needed. Erect feather flags on outer corners to capture foot traffic from distant aisles.
6. Set Up Branded Furniture: Drape your custom table cover over your display tables, and position lead-capture forms, promotional catalogs, and product samples cleanly.
4. Post-Event Packing & Care Tips
Protect your custom display investment for future expos:
Ensure fabric tops and side walls are 100% dry before folding to prevent mildew.
Store your aluminum frame inside a protective wheeled carry bag to prevent transit scratches.